This is how I built a greenhouse in my rooftop
Introduction
Hi guys, it’s been a long time since my last blog, currently I am working on several projects and have no time to write a blog. But, today I have such a good mood after having a wonderful discussion about arts with my friends. It sparks my interest to show my orchids collection, but before that, I need to show you how I built a home for my orchids and if you share the same love for these flowers as I do, you’ll understand the excitement that comes with creating the perfect environment for the orchid collection.
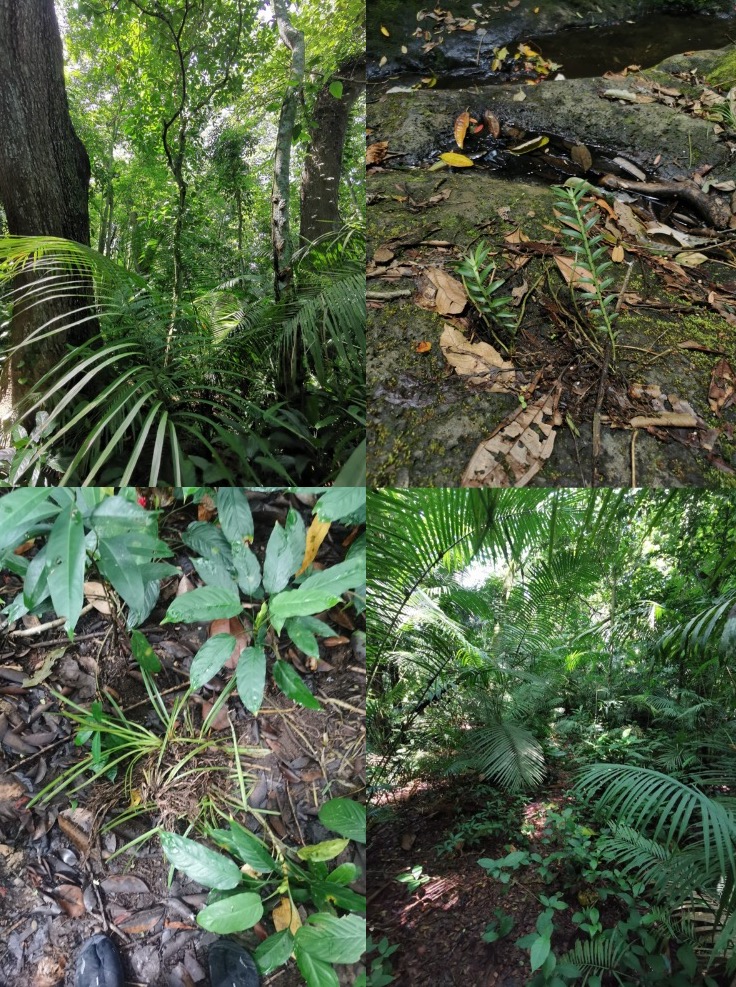
Imagine this: I’m strolling through the forest, admiring the beauty of tropical forest greenery. It hits me – why not recreate this magical setting for my orchids? How big should the greenhouse be? Where’s the best spot in my house? And how can I make sure my orchids get everything they need?
Section 1: Planning and Inspiration
The planning process was both exciting and challenging. I considered factors such as the size of the greenhouse, its location in my house (rooftop), and the specific needs of my orchids. Inspiration struck when I visited some blogs about their greenhouse design. I knew I wanted to replicate that experience for my collection where they could receive enough sunlight, the right humidity, and enough air. After considering the dificulty for building each design, I came up with this design, hahaha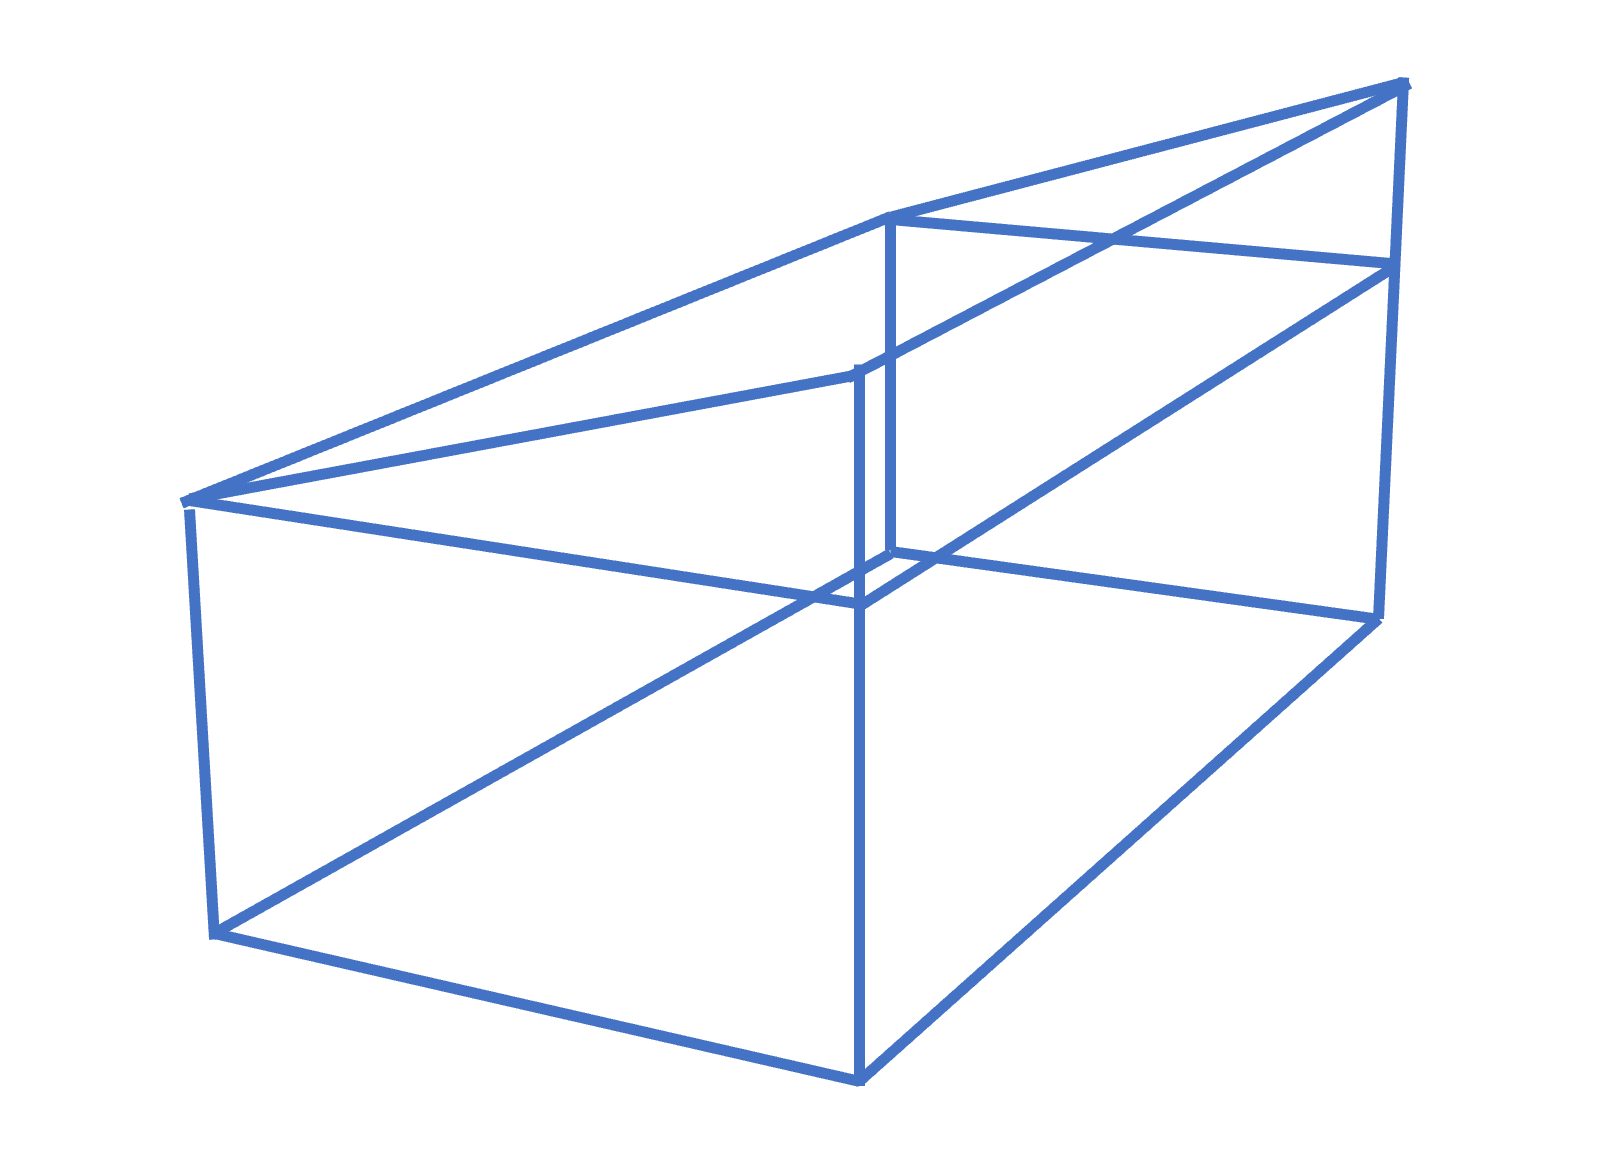
Section 2: Materials and Tools
With a clear plan in mind, it was time to gather the necessary materials and tools. I decided to use for a combination of durable materials that could withstand varying weather conditions but also lightweight. My materials list included glavanised steel, screw, metal mesh, plastic mesh, lamp, wire, and I found most of them at local building material store. I also used hand drill, angle grinder, bubble level, safety goggles. For growing medium, I bought coconut fiber, charcoal, and soil.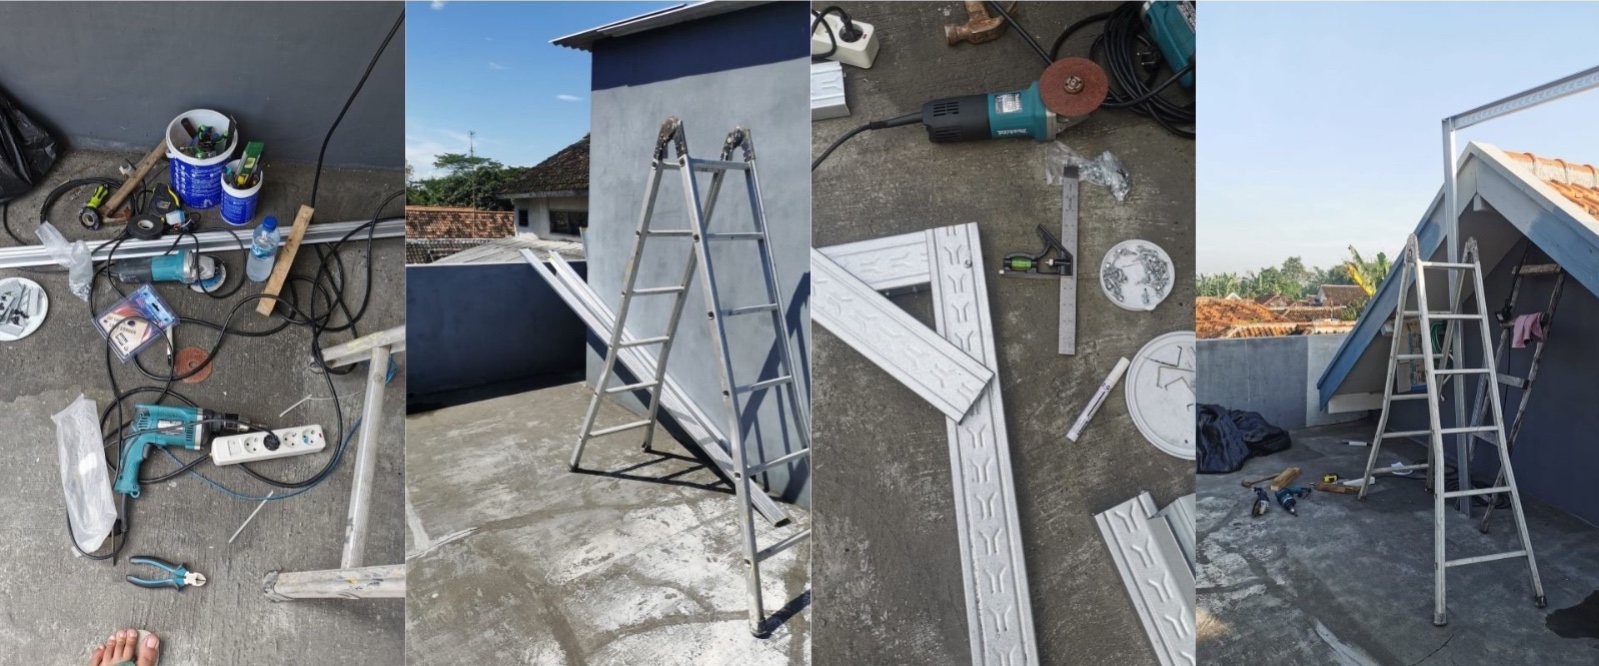
Section 3: Construction Process
The construction process was a challenges. I began the journey by measuring materials and cut them into desirable size. The greenhouse took shape step by step, from framing and installing each parts.
It’s time for the fun part – assembling the frame! I follow my design plan and start piecing together the parts to create the skeleton of my greenhouse. This is where I can get creative with my design like adding extra shelves, hanging baskets, etc.
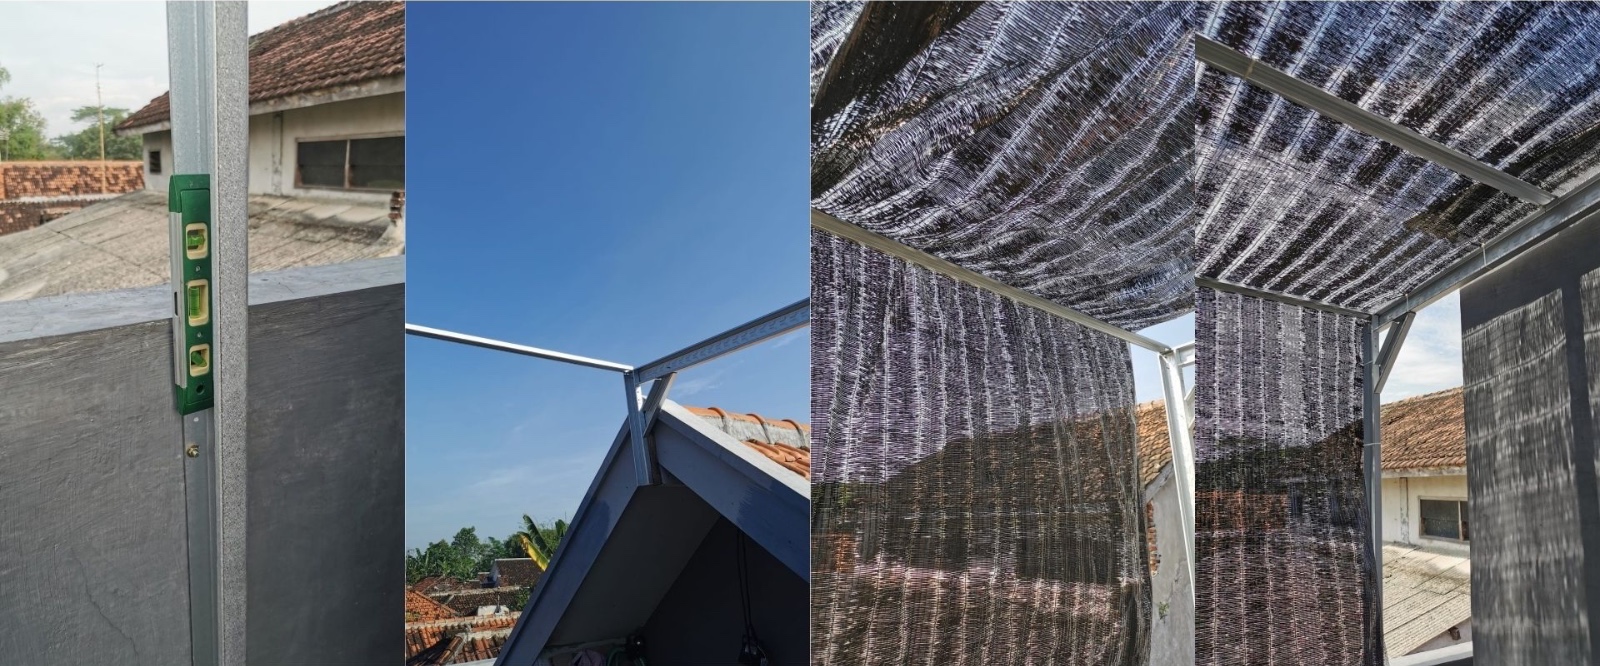
With the frame in place, it’s time to cover my creation. I stretched the mesh sheets over the frame, securing them tightly. I also made sure to leave openings for ventilation. If you’re feeling fancy, add a door for easy access. and my greenhouse was starting to take shape.
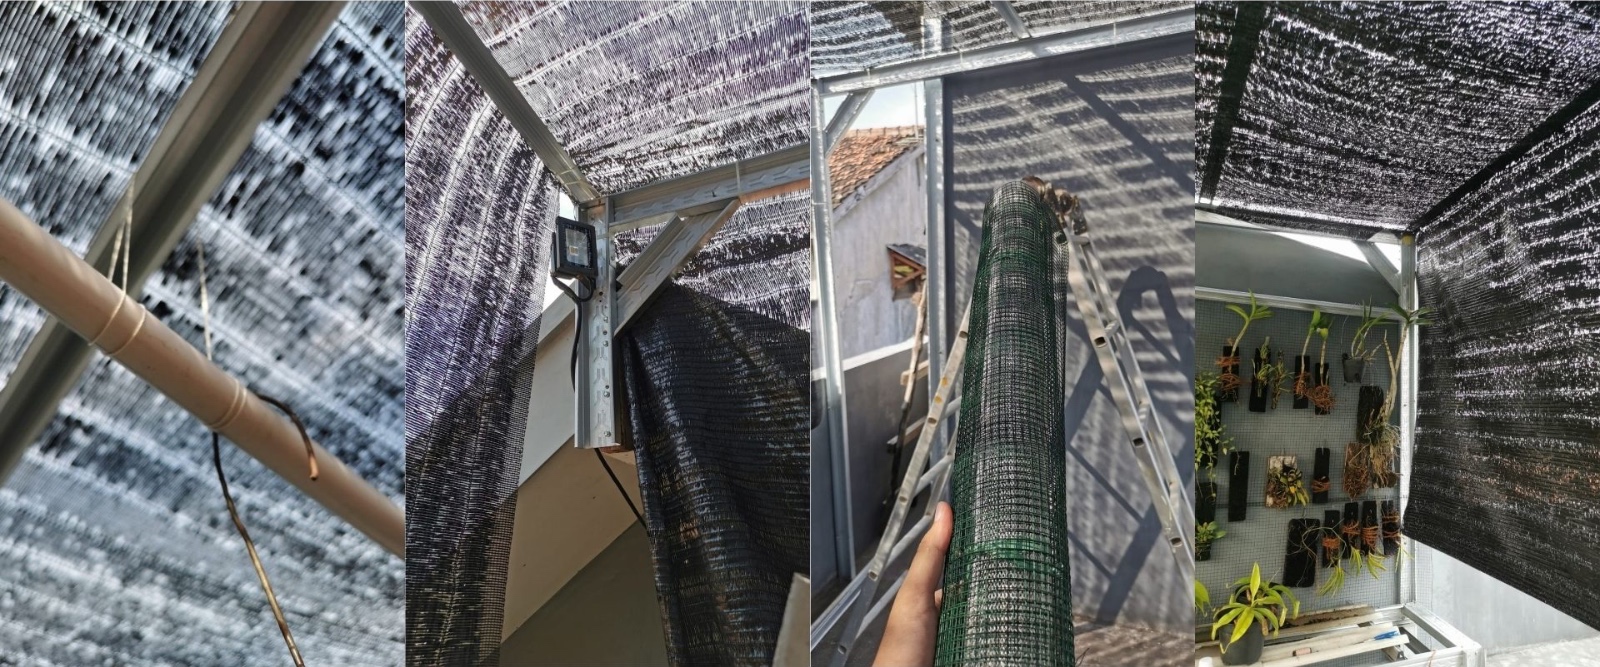
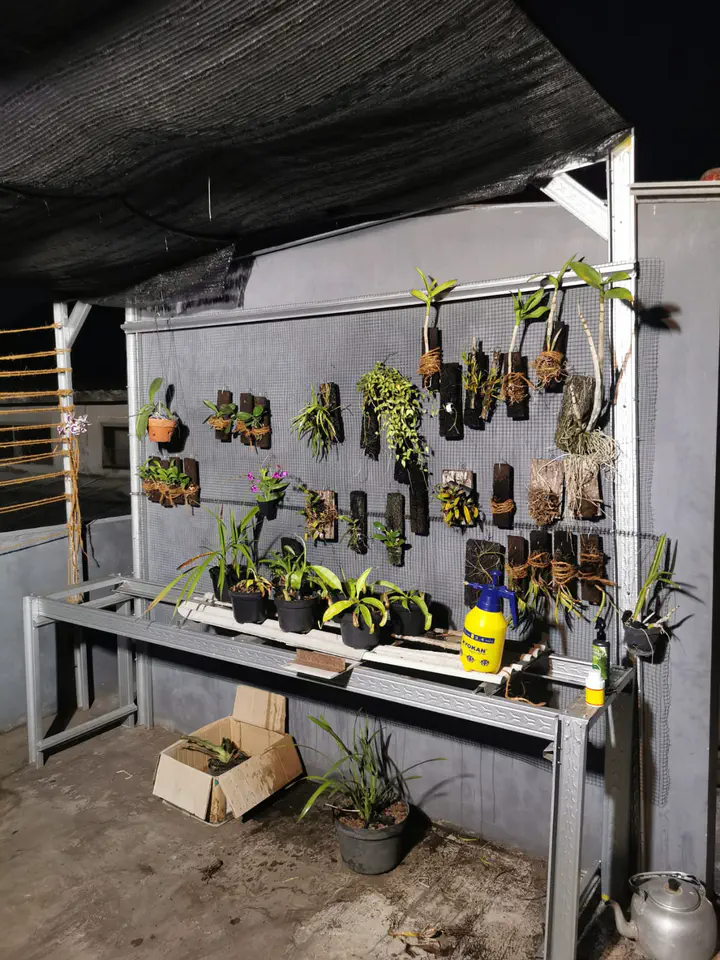
Now that my greenhouse was standing tall, I added the finishing touches. I installed any additional support, like PVC pipes to hang things, adding metal mesh to mount my plant on the wall.
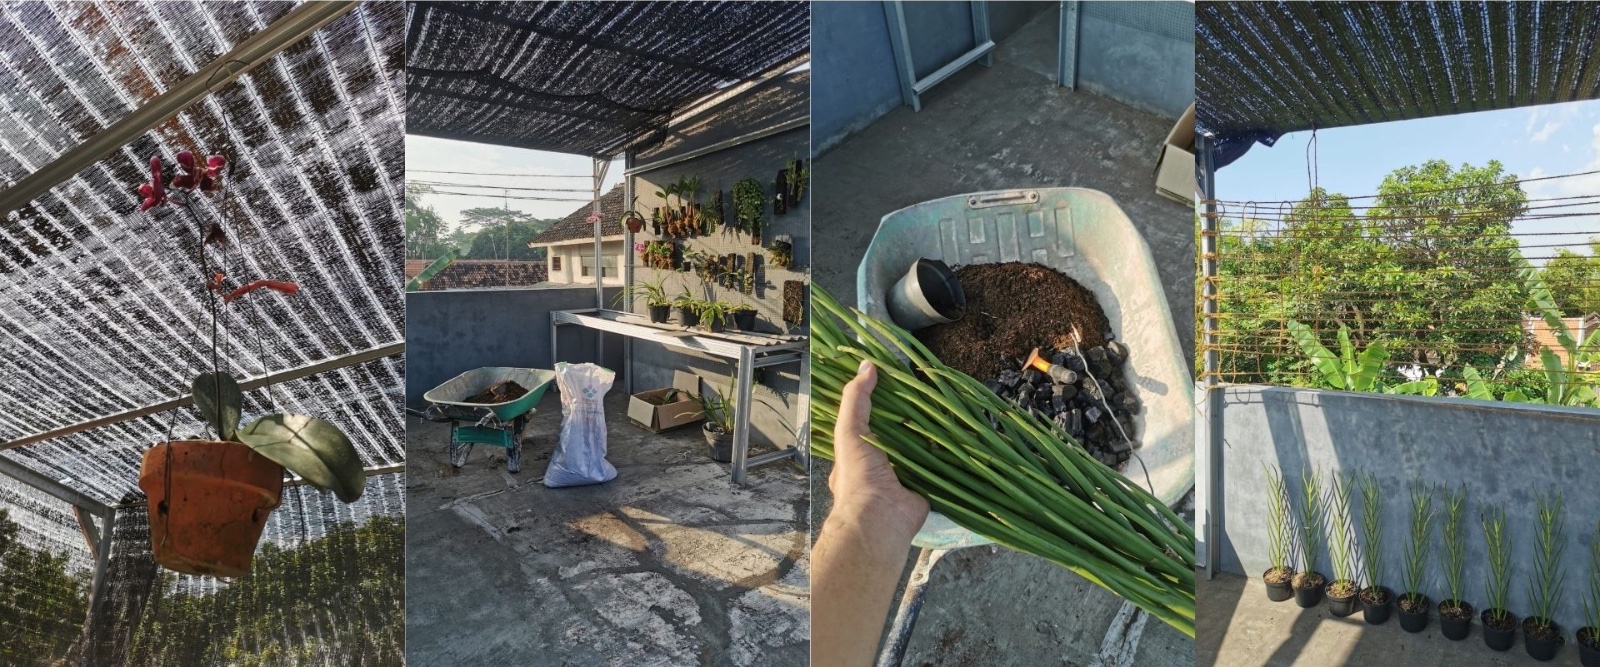
One essential addition to consider is a plant-friendly medium, such as coconut fiber, to enhance the growth of plants like the beloved Hoya collections. Coconut fiber, also known as coir, is an excellent alternative to traditional soil. It’s not only eco-friendly but also boasts superior water retention and aeration properties.
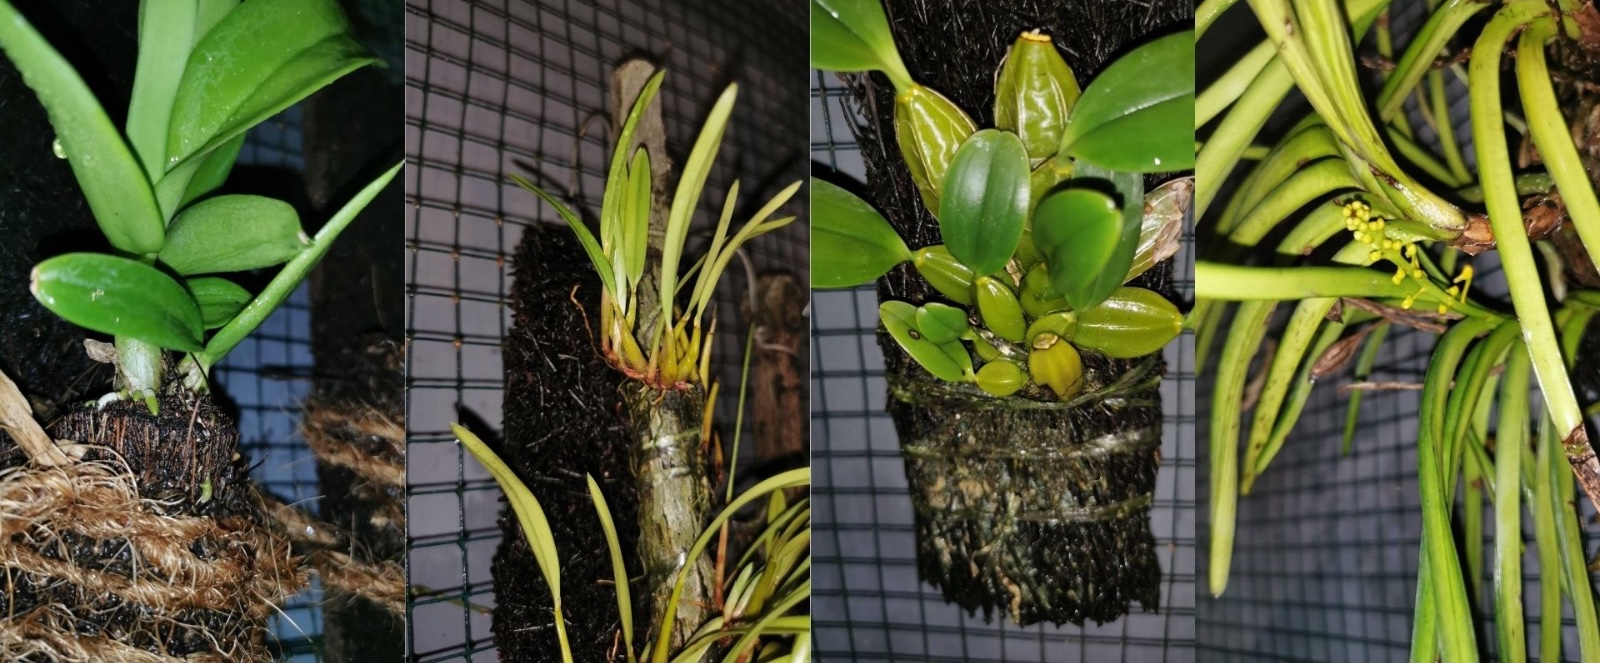
Creating the perfect environment for orchids involves more than just building a structure. Maintaining the right conditions inside the greenhouse became a crucial aspect of the project. I researched on orchid care in a greenhouse setting, considering factors such as temperature, humidity levels, and adequate ventilation. The greenhouse became a good place for my orchids, providing them with the ideal conditions for growth and bloom. Throughout the construction process, I am very happy for the transformation that taking place in my rooftop.
See you in the next post!